PART ONE - THE PIPES
At first, I assumed that I would not need to write about assembling the pipes to create the base of our table. I mean, how hard is it for you to understand the following steps: create a design, clean, and screw together? Hopefully, it's not very hard. However, given that I've now lived through the process, there are a few quick tips I'd like to share:
1. When you think you've screwed enough, screw harder. The tighter the connection between your pipes, the more stable your base will be.
2. This is a two person job. At first, connecting one pipe to another isn't difficult. However, once your creation has grown, the pipe system becomes somewhat unwieldy. Therefore, if you want the best connections possible, use one person to hold the base steady, while the other, more muscular person screws tight. This also helps you to avoid hitting yourself and other precious objects (such as your bamboo floors) with heavy iron pipes.
PART TWO - THE WOOD
When we got to the wood shop, we laid out the three boards. It took a couple of minutes to decide which pieces fit together best. You might think the boards are cut 100% straight, but unfortunately, that is not the case. Therefore, shifting the pieces around helps you to get a sense of what fits best where. You will also need to decide which side of the board you want facing up. Once we figured that out those two things, we lightly marked one end of each board with an upward facing arrow (in pencil) so what we wouldn't rearrange things as we worked on the tabletop.

Next, we had to decide how to attach the three boards together. When we had gone to the lumber yard, several people suggested that we use a biscuit joiner. While we don't own a biscuit joiner, which can run anywhere between $90 and $200, one of my colleagues kindly lent us hers. Unfortunately, after playing with it on some scrap wood, Tyler and I decided to scrap the biscuit joiner. The tool itself was easy to use, but creating pockets in the wood that lined up properly proved difficult, and while we had bought relatively inexpensive wood, we didn't want to take the chance. So, we decided to use simple wood braces on the underside of the tabletop. Tyler drew this pretty picture below to map out our game-plan.
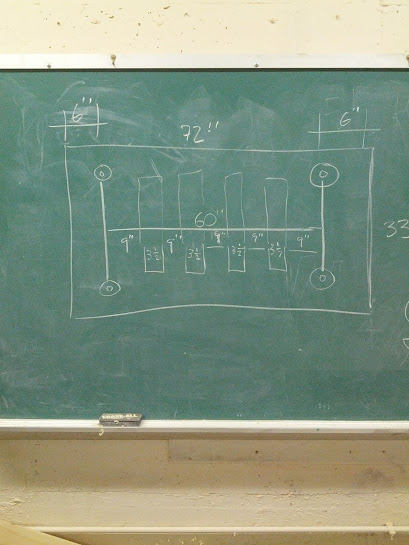
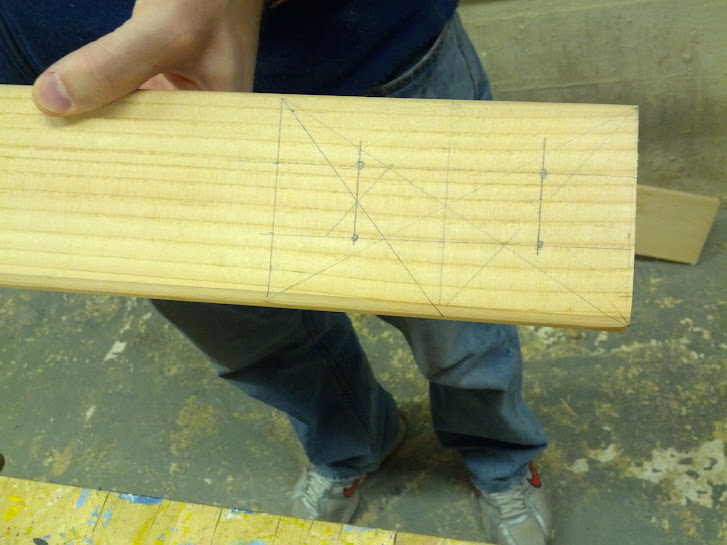
Can't you tell he's a math teacher! Very precise measurements. The idea is that we would connect the three boards with four 2 x 4s that had been cut to 22". Each brace would be centered over the middle board, overlapping with each adjoining board by about 5 1/2" (or halfway on the next board). Ultimately, these pieces would fit underneath and within the pipe-frame base (drawn as the long middle line and 4 circles on the chalkboard). After our plan was complete, Tyler took the same, meticulous approach with the wooden braces. He carefully marked where each screw would go before we starting attached any two pieces.
I promise you, there was some intense geometry going-on. We teachers don't mess around. Once all of the planning was completed, finally, the fun began! Power tools!!!! If you didn't know this about me, I LOVE power tools. Last year, my boyfriend bought me a KitchenAid mixer for my birthday. You might think, "That's not a power tool!" But, if you're in the kitchen, it is! It was my dream present. No joke. This year, for Hannukah, his parents bought me a multi-use power tool. Again, I fell in love. So, as you might imagine, I was not about to let Tyler had all of the fun with the drill.
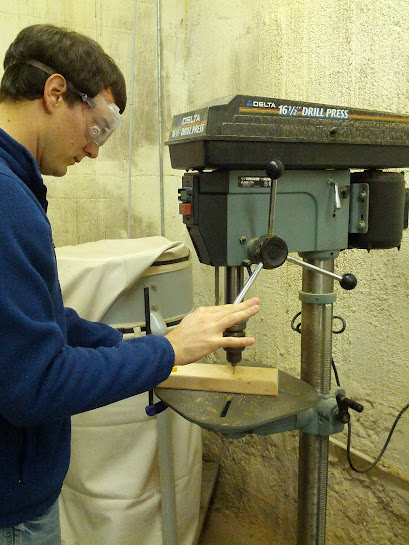
First, using our chalkboard drawing, I marked where each brace would lie on the middle board. As I did this, Tyler drilled pilot holes (slightly smaller than the actual screws we were going to use) into each of the marks he had previously made. Creating pilot holes would help the screws to grip the wood more easily when we finally drilled them.
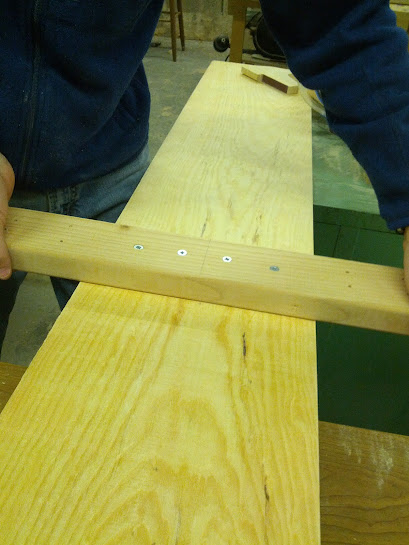
When Tyler was done with the pilot holes, it was time to drill! Using two clamps, we secured the first brace to it marked location on the middle board. Then, we very carefully drilled in each of the four screws located in the middle of the brace. Below, you can see how we attached the first brace, and how I am very skillfully handling the second. We repeated this step until each of the four braces was attached to the middle board.

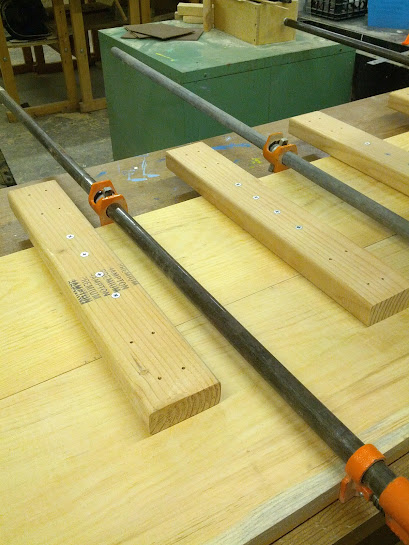
To attach the first side piece, we used three GIGANTIC clamps (below). The clamps ensured that the boards would not shift as we drilled, and they allowed us to place the boards as closely together as possible. While the connection wasn't perfect, any gaps that did appear were negligible. Then, as with the middle board, we drilled four screws through each brace into the board, this time using a rectangular pattern instead of a straight line. We completed the two middle braces first and then attached the two side braces, figuring this would make for the most stable connection.
To connect the final board, we adjusted the clamps to fasten the three boards together and repeated the drilling process described above. When this was done, vwaaaaaaah-la! We had our tabletop! The entire process (PART TWO) probably took us two to three hours. Unfortunately, I don't have a picture of the three boards after they'd been connected. You'll just have to imagine it.
I do want to say though, despite the pride I felt about what we had just accomplished, I was worried. The tabletop did not look very attractive. As you can see in the pictures above, plain pine is not exactly "poppin". I was a slightly concerned about how beautiful the table was actually going to look. Nevertheless, I kept my fingers crossed, hoping that when it was stained its appearance would improve.
No comments:
Post a Comment